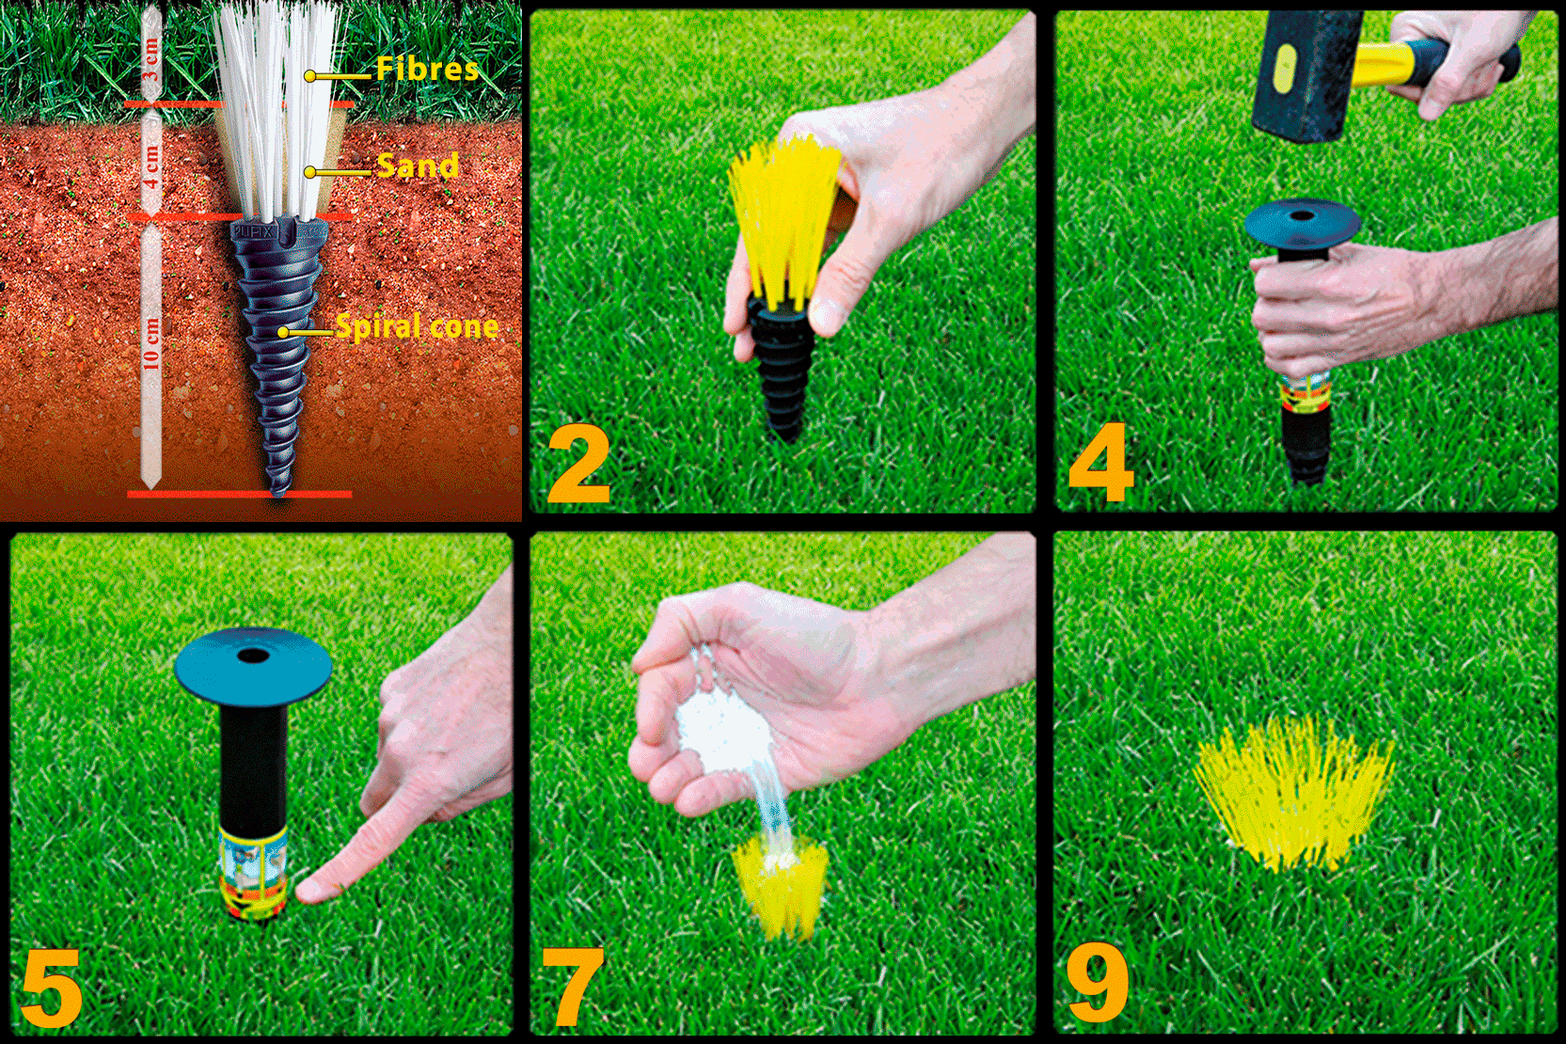
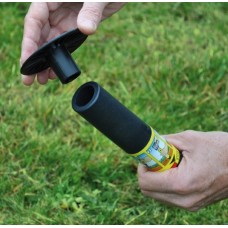
1). Insert the SAFETY CAP by pressing the stem into the DRIVING TOOL (The safety cap and the driving-tool have been manufactured solely for planting of each PliFiX™ marker).
2). Push the PliFiX™ marker 3/4 of an inch (2 cm) into the ground. (On clay surfaces and or hard soil surfaces, using a small chisel, make a 4 inch (10 cm) hole where the PliFix™ will be located, pour a small amount of water into the hole to soften the soil and follow the Instructions).
3).Place the DRIVING TOOL with the SAFETY CAP over the spiral cone with the fibers inside the tube of the DRIVING TOOL.
4-5). Using an iron mallet, strike the SAFETY CAP and driving tool until the “STOP” mark located on the DRIVING TOOL reaches ground level. This will ensure that 1 ½ inch of fibers will be inside the ground and 1 3/16 inch fibers above ground. The final position and depth of the marker depends upon the height of the mowed grass. When mowing closer to the ground, adjust the PliFiX™ markers height accordingly.
When meeting serious resistance when planting the PliFiX™ marker, check to make sure that a hard surface such as a stone, roots or other obstacle does not hinder the planting. DO NOT insist by hitting the safety cap numerous times. Once the marker has been removed, using a small chisel, check the inside of the hole, remove the obstacle. Once cleared, fully replant the marker.
6). Remove the DRIVING TOOL with the SAFETY CAP.
7-8). Pour a handful of sand into the fibers to fill the gap between the fibers, and gently hit the fibers with the head of the iron mallet.
9). It’s done !
IMPORTANT!
Every single PliFiX™ marker must be planted into the soil using the manufactured purpose-made SAFETY CAP and DRIVING TOOL provided. There is one SAFETY CAP and one DRIVING TOOL provided for this purpose in each box.

Plifix Marker Insertion Tool
- Product Code: 36PMA
- $13.20
-
$5.50
- Ex Tax: $5.00
